The basics of Drupal 8 theming (Part 4)
This is the eighth chapter of the Drupal 8 Theming: Getting Started series. In this chapter, you are going to learn about how to manage custom blocks.
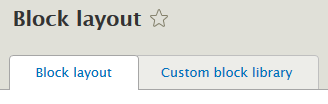
How to manage custom blocks
If you want to edit the content of custom blocks, you can only do it from the Custom block library, which is located at admin / structure / block / block-content (you can also get there by clicking the Custom block library tab from the Block layout administration page).
The custom block library
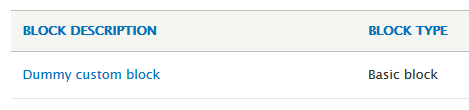
The custom block library displays any custom block you have created with Drupal 8. Because you have not created any yet, you can read the following message: “There are no custom blocks available. Add a custom block.”
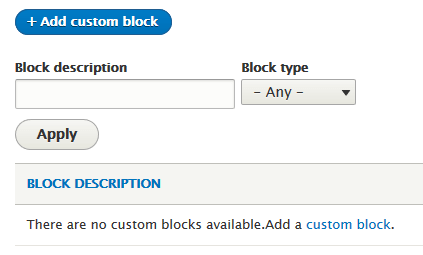
Let's create one custom block by clicking the Add custom block button.
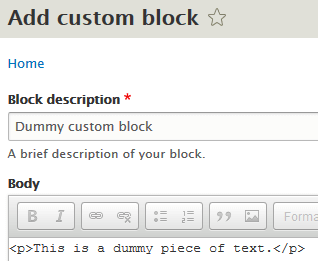
- Click on the Add custom block button.
- Type a brief description of your block in the Block description text box.
- Type any piece of text in the Body text area.
- Ignore the other settings and click the Save button.
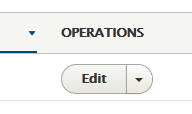
Once the custom block has been created, you can edit its description, body, or additional fields from the Custom block library page, under the Blocks tab, by clicking its Edit button.
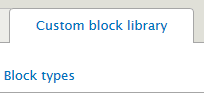
In addition to the Blocks tab, the custom block library has other tab named Block types, which shows the different block types available for use.
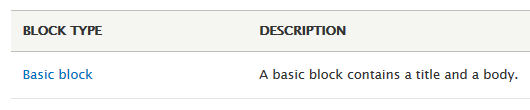
By default, there is only one single block type named Basic Block. A Basic Block contains a title and a body field.
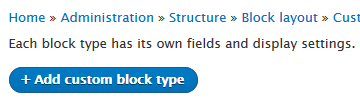
If the Basic Block does not meet your requirements, then you can create your custom block type by clicking on the Add custom block type button.
At this point, if you are not new to Drupal, you may have already noticed that Block Types and Content Types are pretty much the same in Drupal 8. That’s right! Now you have the ability to manage the fields of a block as well as its view mode.
Creating a custom block type
In order to understand this new functionality completely, let’s create a custom block type and then let’s add some fields to it.
- Click on the Add custom block type button.
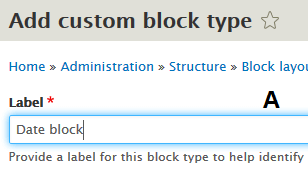
- Type Date block in the Label text box (Figure A).
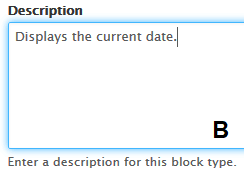
- Type a description in the Description textarea (Figure B).
- Ignore the other settings and click on the Save button.
- Click on the Manage fields button of the Date block.
- Right after clicking the Manage fields button, you will see the Fields User Interface, which let you both manage the fields of a block and add new fields to it.
- There are three columns on the Manage fields screen:
- LABEL: This is the name that will be used as a label for this field. Please, use a descriptive name to let the user know what this field is used for.
- MACHINE NAME: This is the name used by Drupal to identify the field (the machine name is always displayed in lowercase letters.).
- FIELD TYPE: This is the field type you will work with. There are a lot of them to choose from (email, link, file, etc.).
- Click on the Add field button.
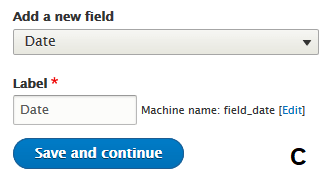
- Select the Date field from the Add a new field drop-down menu (Figure C).
- Type Date in the Label text box and click on the Save and continue button (Figure C).
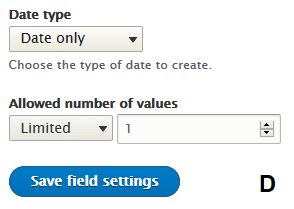
- On the Date screen, select the type of date to create from the Date type drop-down menu. Let’s choose Date only (Figure D).
- Ignore the other settings and click on the Save field settings button.
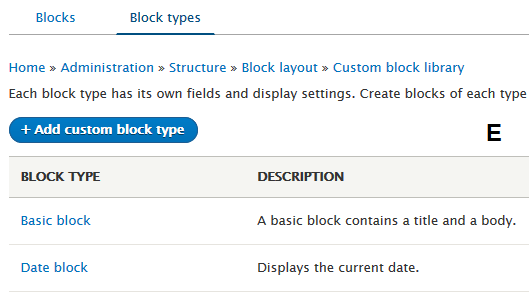
- If you go back to the Block types tab on the Custom block library page, you will see that the block type you have just created is available for use (Figure E).
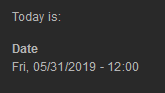
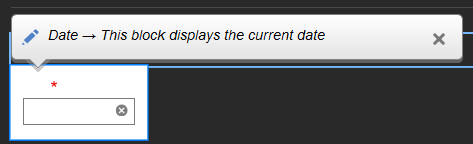
This is how a block of type Date block would look for now.
Managing the display and view modes of a custom block
Once that the Date block type is ready for use, let’s have a look at its Manage display tab. In order to do so, please go to ‘admin / structure / block / block-content / manage / date_block / display’.
As you might expect, managing the display of a custom block is pretty much the same as managing the display of a content type. From this page, you can arrange the fields, choose how the labels are displayed, change the format as well as select a view mode by clicking on CUSTOM DISPLAY SETTINGS.
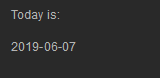
If you go back to the previous image, you will see that the label Date is displayed above the date. In addition, the date string displays the current time, which is fake, because you selected Date only when creating the type of date. Because the Manage display tab lets you change these display options, let’s hide the label Date and get rid of the current time displayed by the date string:
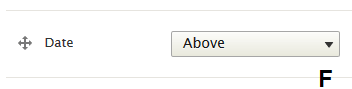
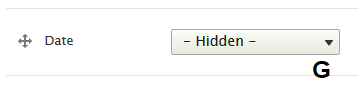
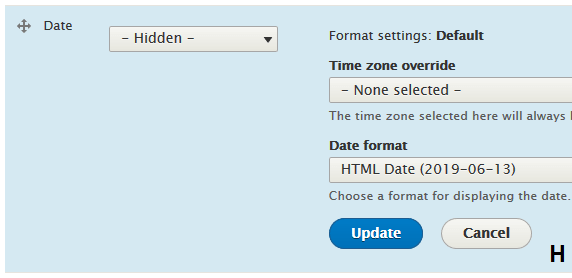
- Locate the LABEL column for the Date field and then select Hidden from the drop-down menu (Figures F and G).
- Click on the cogwheel for the Date field and then choose a Date format appropriate for it (you have to select HTML Date because, as said above, you chose Date only as the type of date to create) (Figure H).
- Click on the Update button and then click on the Save button to save your settings.
This is what the Date block looks like after changing the display settings for the label and format:
The date is not automatically updated, so that you have to edit the block and select the correct date.
Lastly, Drupal 8 lets you create view modes for custom blocks the same way as you create them for content types. Think of a view mode as a container that holds the display settings of your custom blocks.
By default, there is only one view mode (Full) for use with custom blocks:
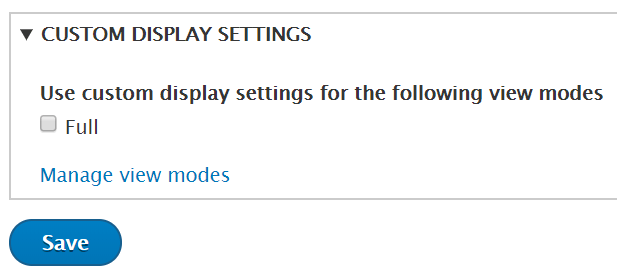
If you want to create new view modes or edit existing ones, you can do it by clicking the Manage view modes link located in the CUSTOM DISPLAY SETTINGS box (as shown in the previous image) or going to admin / structure / display-modes.
