The basics of Drupal 8 theming (Part 3)
This is the seventh chapter of the Drupal 8 Theming: Getting Started series. In this chapter, you are going to start creating blocks to manage content.
How to manage content with blocks
With Drupal 8, as with Drupal 7, blocks are containers of content (think of them as sections of content) that you can put in the different regions of your site. Blocks are managed in the Block Layout screen and now they are fieldable like content types. In addition, you can reuse them using different view modes.
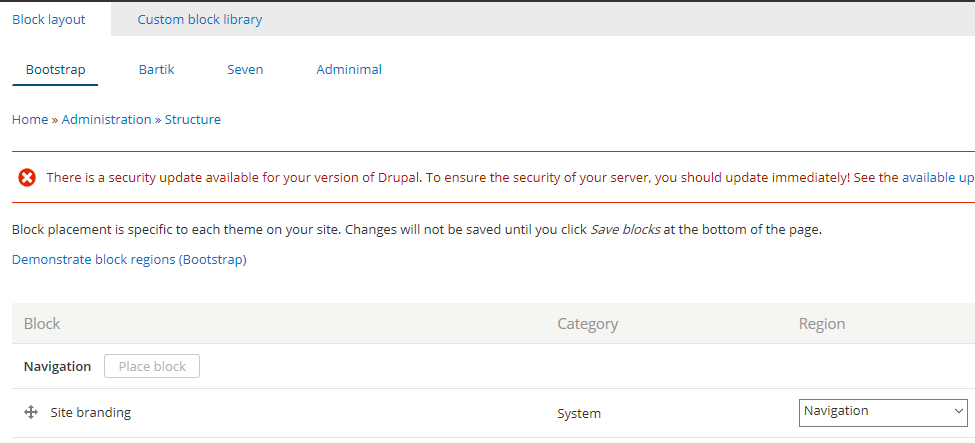
The Block Layout screen
The Block Layout screen is intended to manage your block content. To get to the Block Layout screen, go to '/ admin / structure / block'.
There are several block types or block categories:
- Core: core blocks have primary functionality. Page Title, Tabs, and Primary Actions are examples of blocks that belong to this category.
- Custom: custom blocks are created by using the Custom block library tab. Each of these blocks has its own fields and display settings.
- Forms: forms blocks contain embedded forms. Search Form and User Login are examples of forms blocks.
- Lists (Views): lists blocks contain views generated for block content. Recent Comments, Recent Content, and Who's Online are examples of lists blocks.
- Menus: menus blocks contain menus and menu items. Administration, Footer, Main Navigation, Tools, Shortcuts, and User Account Menu are examples of menus blocks.
- System: system blocks have system functionality. Breadcrumbs, Main Content, Messages are some examples of system blocks.
If blocks are containers of content, regions are containers of blocks. Drupal 8 provides ten regions by default:
- Header
- Primary menu
- Secondary menu
- Highlighted
- Breadcrumb
- Help
- Content
- Sidebar first
- Sidebar second
- Footer
If the previous regions are not enough for your theme layout, you can define your own regions in the .info.yml file of your theme. You will go into detail about how to define custom regions later in this series.
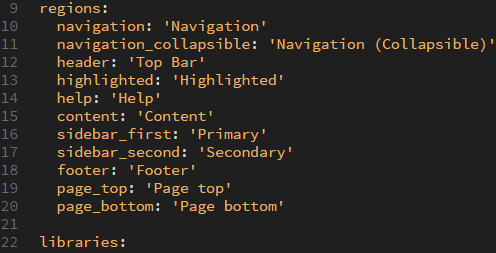
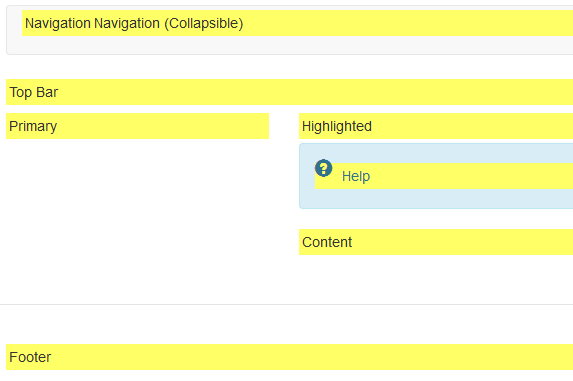
The previous image shows the own regions of the Bootstrap theme.
To see a demonstration of the regions defined by your theme, click on the Demonstrate block region link. It is located at the top of the Block Layout Screen, just below the breadcrumb.
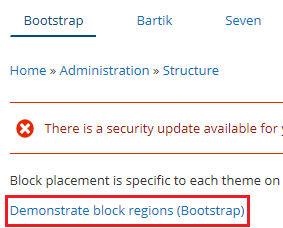
In order for a region to show up on the block region demonstration screen, first you have to define it in the .info.yml file and print it in the page.html.twig file
To go back to the Block Layout Screen, click on the Exit block region demonstration link. It is located at the top-left of the Block Region Demonstration page.
Lastly, let's make an example about how to place a block within a region.
- Scroll down the block layout page to locate the region you are interested in and click on its Place block button (let's choose the Secondary region).
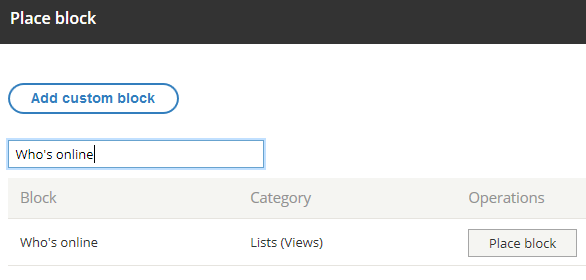
- In the Place block window, there are a lot of built-in block you can choose from.
- Type, for example, "Who's online" in the input box to filter by block name and then click on the Place block button (see image below).
- In the Configure block dialog window, leave the default settings and click on the Save block button.
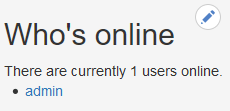
- Now, if you go back to the homepage, you will see that the Who's online block has been placed within the Secondary region (see image below).
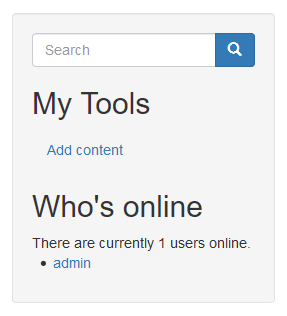
As you can guess, the Secondary region is intended for featuring content at the right side of the page.
How to configure a block
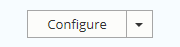
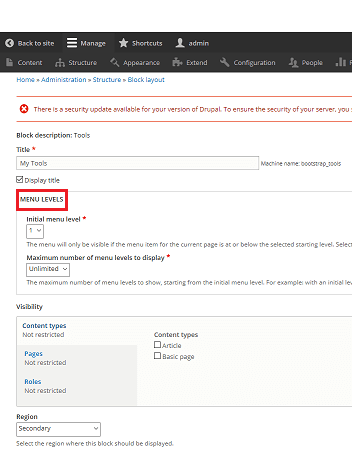
In order to go onto the Configure Block screen for a particular block, you can either click on its Configure button from the Block Layout screen or click on its Configure Block link from the contextual menu that shows up when you hover over any block (after clicking the pencil button).
The Configure Block screen lets you change the basic settings of blocks (Title, Visibility, and Region). Note that additional settings may be available (it depends on the type of block you are working with).
Title settings
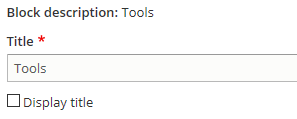
The title section lets you change the title or make it unviewable for a particular block. For example, if you wanted to change the title of the Tools block, you would have to follow these steps:
- Locate the Tools block.
- Click on its Configure button.
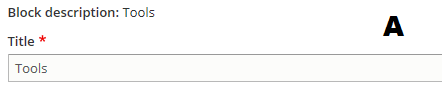
- Use the Title input box to input the new title (Figure A).
- Click on the Save block button.
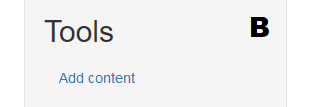
- Go back to the homepage and make sure that the title has been changed correctly (Figure B).
If you wanted not to display the title of the Tools block, you would have to untick the Display title checkbox as follows:
Now, if you go back to the homepage, you will see that the title has been hidden for the Tools block:
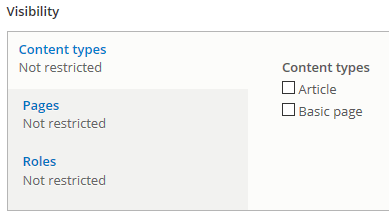
Visibility settings
The Visibility section allows you to show or hide blocks in three different and combinable ways.
Content Types lets you select the node type (Article and Basic Page are the node types by default) the block is placed on. For example, if you created a block to display the most read articles of your site and you only wanted it to be displayed on Article type nodes, then you would have to tick the Article checkbox.
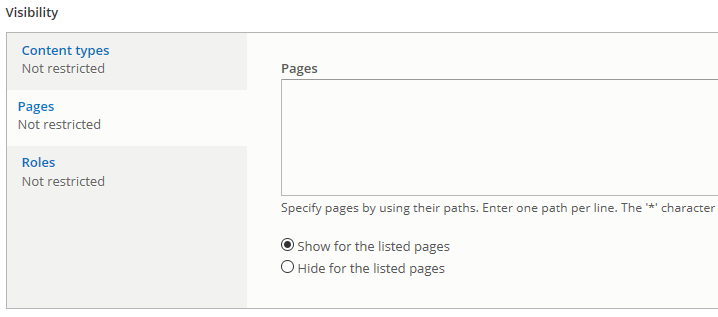
Pages lets you create a filter by using the page path the block is placed on.
Likewise, Roles lets you create a filter based on the roles a user has.
