Overhauling my Asus laptop: new thermal paste, SSD, and OS (Zorin OS)
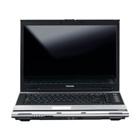
After thirteen years (from 2006 to 2019) with my Toshiba Satellite M70-122 laptop (I didn’t know it was the 112 model: I’ve known about it by looking for information to write this post), I decided to throw it away because its hard disk broke down and it wasn’t worth it to fix it because it couldn’t even run fluently simple processes such as surfing the Web or playing videos on Youtube.
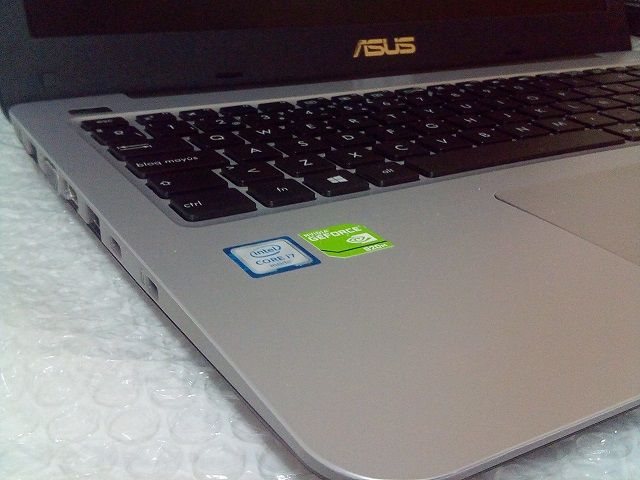
Even though I thought to fix it quite a few times, as I said before, it was so old that it wasn’t worth it. As I have an Asus laptop F556UJ-XO010T that I bought almost at the end of 2016, I thought it would be a great replacement because it’s perfect for everyday multitasking and entertainment.
After a long time, it made me a little sad to leave my Toshiba Satellite M70 in a container of the local government's recycling service, ready to be crushed.
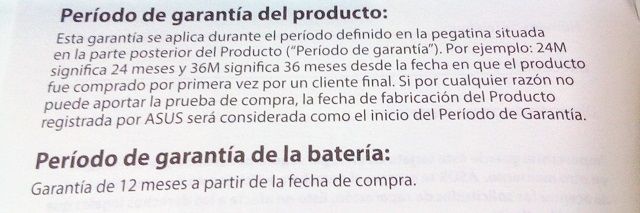
There was only one downside. As I hadn’t done any maintenance task on it since 2016 due to issues about loss of warranty (which is already expired), it needed to be overhauled in order to give its best performance. That’s what I’m going to address throughout this article.
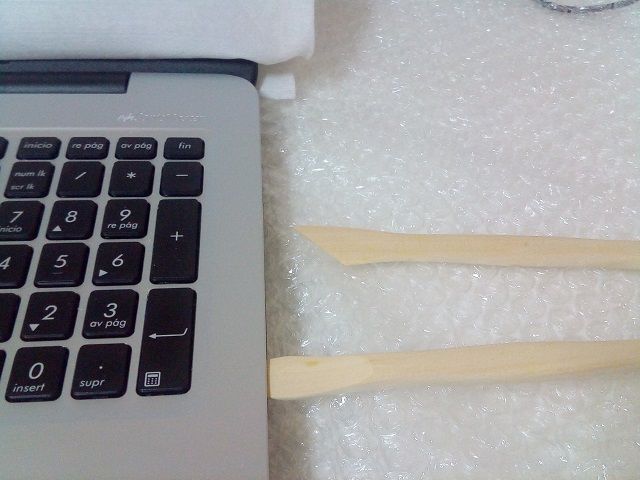
1. I covered the table with bubble wrap to protect the laptop. In addition, I also used a fabric cover for the display (the one that was shipped along with the laptop).
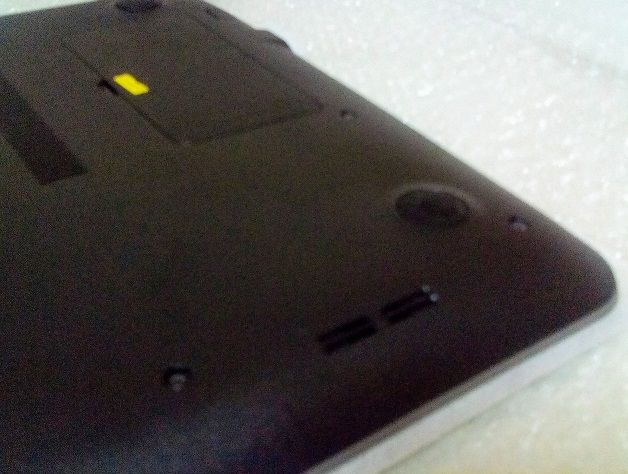
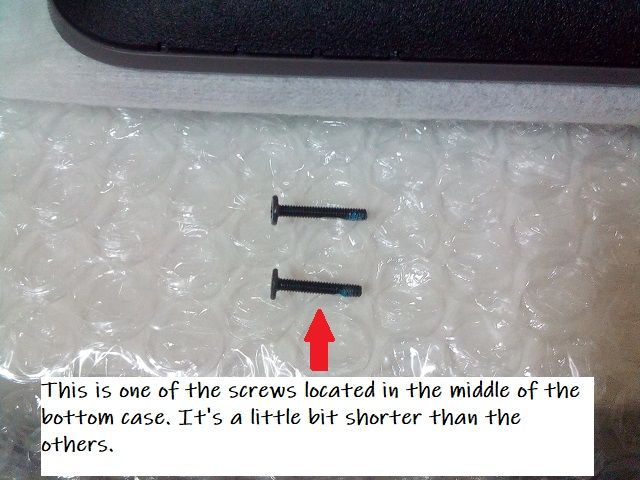
2. I put the laptop upside down and took out eleven screws. Two of the screws (the ones in the middle) are a little bit shorter than the others.
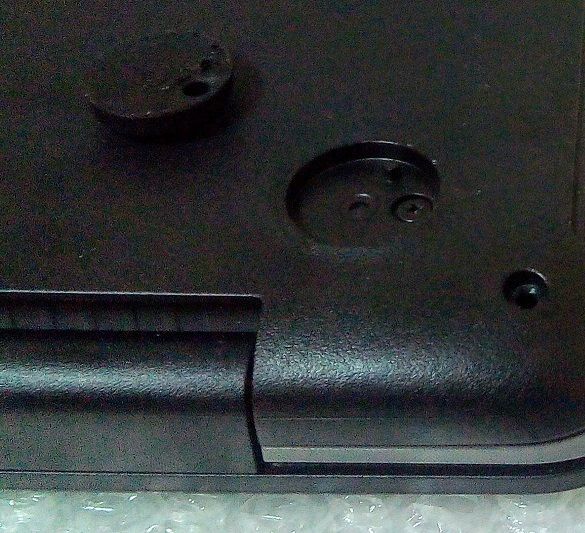
Besides, one of the screws is hidden under the top left self-adhesive rubber foot pad.
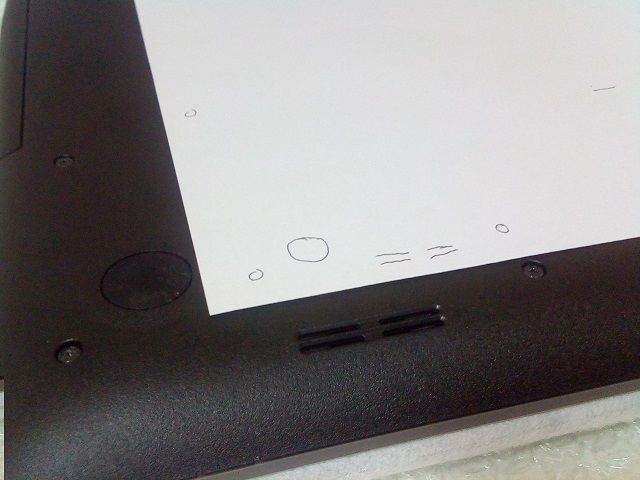
I made a quick sketch of the bottom case so I didn’t get into a mess with the screws.
3. I used a wooden spatula to detach the bottom case. You have to do it gently so you don’t break any of the tabs that join the bottom case with the laptop body.
4. Once the bottom case has been removed, the first step is to disconnect the battery to work safely.
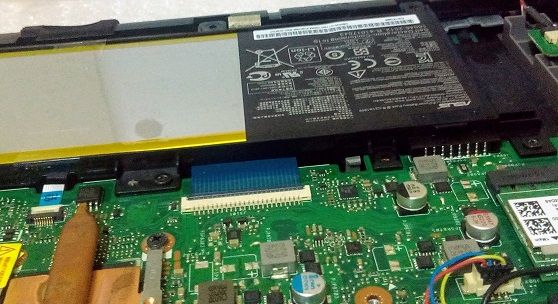
Because this laptop has an integrated battery, you have to take its screws out of the laptop body and then pull it out gently with the tips of your fingers (there isn’t any latch you can slide).
As you can see in the previous image, there isn’t any dirtiness inside the laptop so it wasn’t necessary to clean it up.
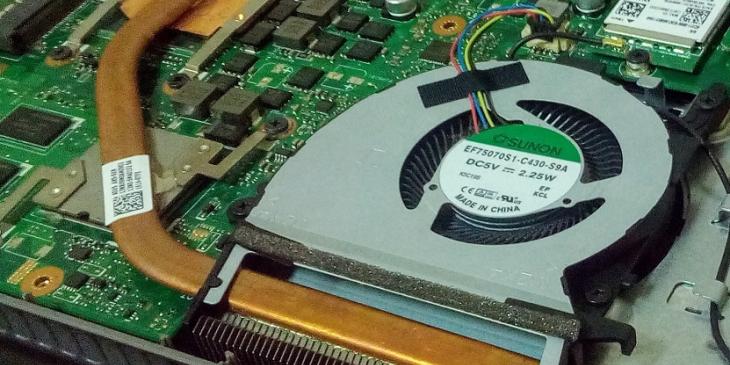
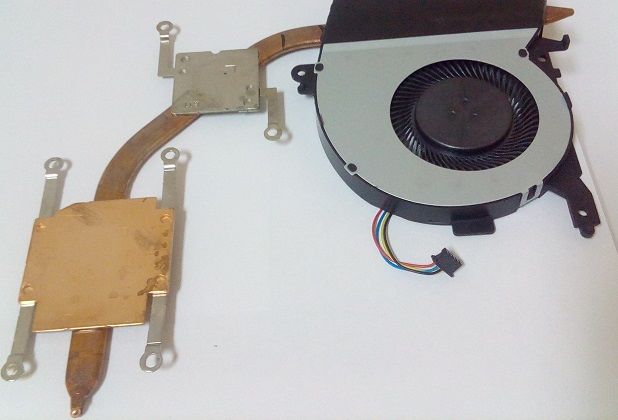
5. In order to remove the copper heatsink, you have to take out nine tiny screws (2x5mm). It was difficult to take out the heatsink fan, because one of its screws (the closest one to the GPU) was tightened so strongly that I couldn’t unscrew it without damaging the groove on its head.
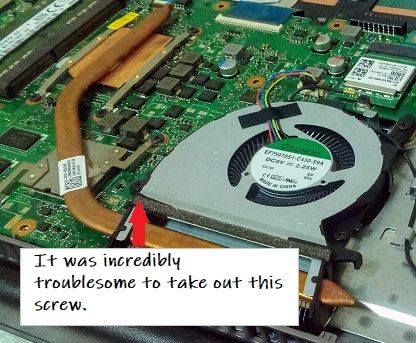
I had to buy a little bag of this kind of screw. Its technical name is “Phillips Countersunk screw (2x5mm)” and, even though it’s tiny, it’s quite expensive. One little bag with just a few of them costs over two euros.
6. After taking out the heatsink, I removed the old thermal paste from the surface of the CPU and GPU and then I did the same thing with the heatsink.
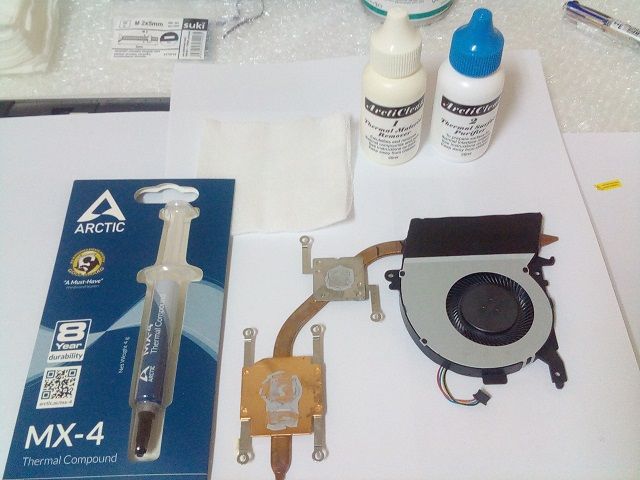
As shown in the previous image, I used a thermal compound named ARTIC MX-4 along with a thermal material remover and surface purifier kit called Arctic Silver ArctiClean 1+2 to remove the thermal paste from both the CPU/GPU and heatsink. There was too much old thermal compound on the CPU and GPU so I had to use a lot of gauzes. Applying so much thermal paste is a mistake, because you just need a little drop of compound in order for the heatsink to work fine. I also used some compressed air and a few isopropyl alcohol wipes to clean the heatsink fan, which wasn’t very dirty.
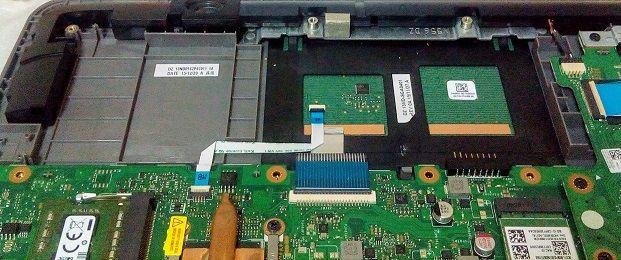
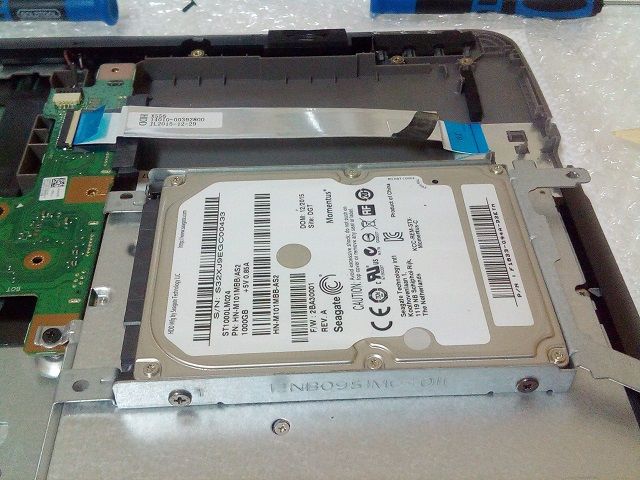
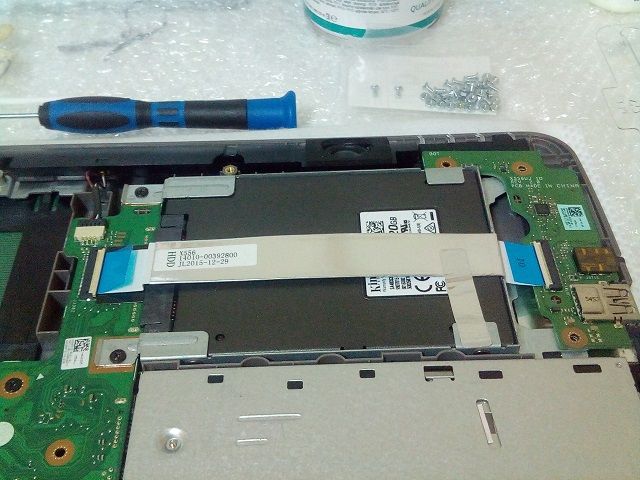
7. Lastly, I replaced the Seagate 1TB hard disk with a Kingston 120GB A400 SSD (a great cheap SSD to increase the reading/writing of data performance).
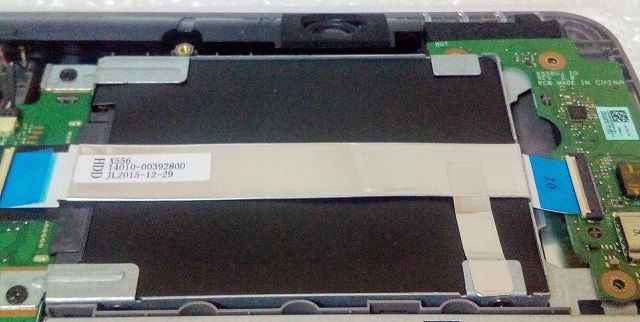
As you can see in the previous image, there is a data tape on top of the hard drive. To take the data tape out, you have to pull up the white tab to the right of the hard disk and then remove the sticker from its top. In addition, you have to remove the green card to the right of the hard disk to take it out from the laptop body.
In order to install the new SSD, first you have to put it on the tray and then connect it to the SATA connecter. In addition, you have to put the little green card back in place; put the data tape back into the white tab; pull it down gently; put the sticker back on top of the data tape to prevent it from moving; and, finally, screw back the four screws (two on the left and the other two on the right, under the green card).
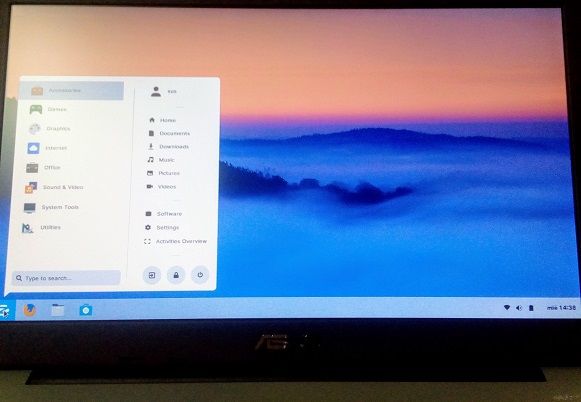
Installing Zorin OS
After accomplishing the change of thermal compound and replacement of hard disk, I installed Zorin OS 15 Core on the new SSD. Why did I decide to install Zorin OS instead of Windows 10?
First of all, if you don’t know anything about Zorin OS, this video created by ExplainingComputers explains what it is and how you can install it on your computer. Thank you very much ExplainingComputers for this great video.
I decided to install Zorin OS on this computer because of the following:
I’m tired of almost everything in Windows 10. Even though I think it is the best option for the general public, I consider that it is now much less suitable for a professional audience than before. It is because it has been adapted from version 8 with the focus on mobile users and gamers. Desktop users have been relegated to the background.
I liked Windows 7, and I also like how Windows 10 works; but I don’t like a lot of things about it. It looks quite ugly. It has a lot of bugs. It has a bad (shabby) update manager and feels like a suitcase with a lot of stuff inside.
That’s why if I can opt, I’ll always opt for Mac OS or GNU/Linux.