Installing a SSD M.2 on a CHUWI laptop
A few months ago, I bought on Gearbest a good budget laptop from China called Chuwi LapBook SE (review). I paid for it 258 EUR (around 288 USD) and of course I couldn’t expect any exciting internal storage (it only has a 64 Gb of eMMC).
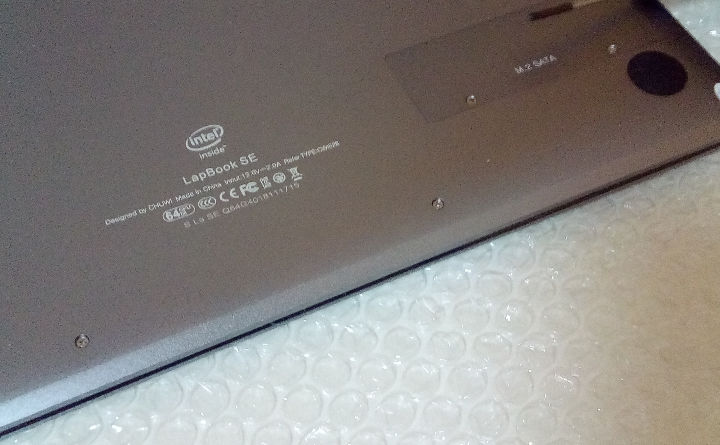
As you can access to its M.2 SATA socket by removing a little access panel door cover in the bottom side, I am going to address the steps to follow for connecting the SSD to the laptop as well as the review of Clonezilla, which is a Linux distribution intended to clone any storage drives (HDDs, SSDs, SSDs M.2, and NVMe drives).
The CHUWI LapBook SE has eMMC storage (NAND flash memory) as its default internal storage memory, so I suggest you not to use Clonezilla or any other piece of software for cloning the default storage drive of this laptop. Why? Because eMMC drives cannot be removed from computers and it is required to replace the cloned drive with the new one in order to avoid signature collision problems, that is, there would be two storage drives connected with the same UUID. Instead, delete all partitions and install the OS of your choice from scratch on the new SSD M.2.
In this thread, you can read how some people ran into trouble after cloning the EMMc drive.
Requirements
- Clonezilla, which is a Linux based partition and disk imaging/cloning program.
- Rufus, which is a tool to create bootable USB drives.
- One USB flash drive (choose the one you like the most).
- A Phillips-head screwdriver (you will need one to attach the SSD M.2 with a screw).
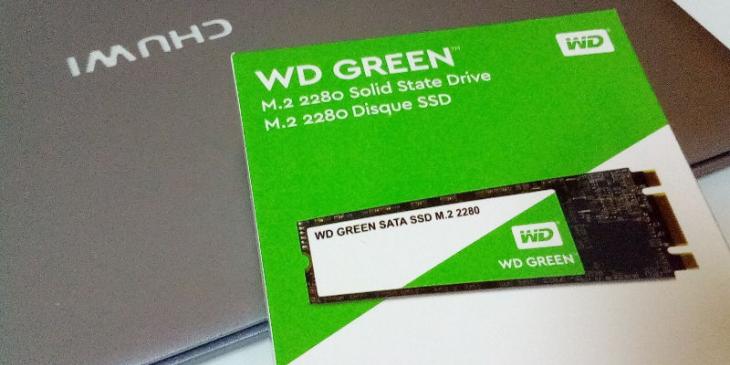
- One SATA SSD M.2 2240/2280 (the one I am going to use is WD Green, which is a lower power consuming drive).
Installing the SSD M.2 on the laptop
The installation of the SSD M.2 on the laptop is a two-step process:
-
Put the laptop upside down. I covered the table with bubble wrap to protect the laptop. In addition, I also used a fabric cover for the display (the one that was shipped along with the laptop).
-
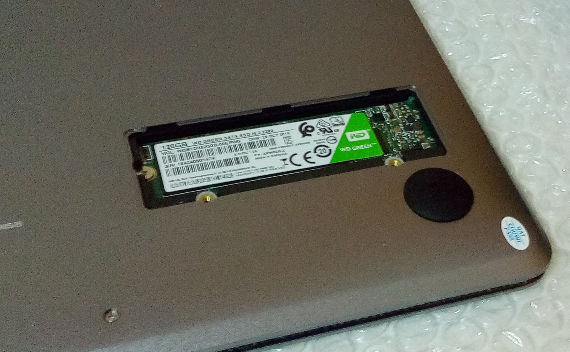
Take out the little access panel door cover at the bottom right corner and connect the M.2 SSD drive. To attach the drive to the laptop body, you have to use a tiny screw that is shipped along with the laptop.
Once the M.2 SSD is installed, boot up the laptop while pressing the keys Fn + F7 to access the UEFI firmware settings and check for the new drive to work fine.
Creating the Clonezilla Live USB drive
Because Windows 10 is the OS installed on this laptop, I am going to choose method E to setup Clonezilla Live on my USB flash drive.
-
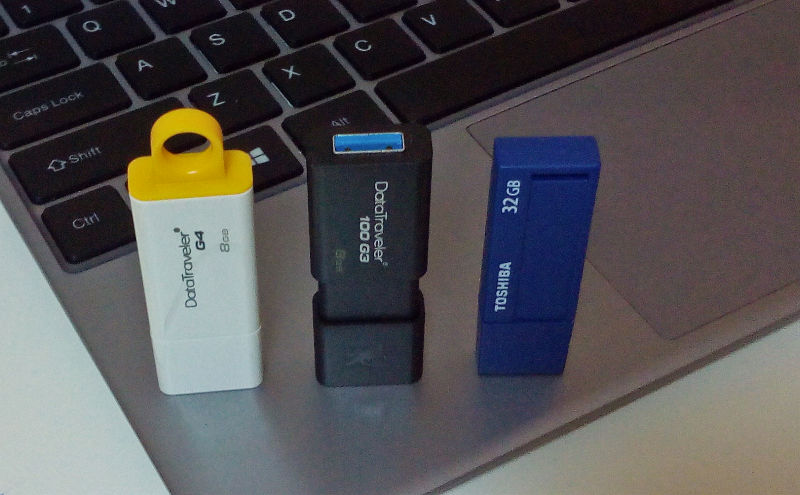
Insert your USB drive into a USB port (use the fastest one your computer has). Although all three USB drives shown in the following image are 3.0 USB flash drives, I am going to use the blue one because I need the thinnest one as this is a very low height laptop.
-
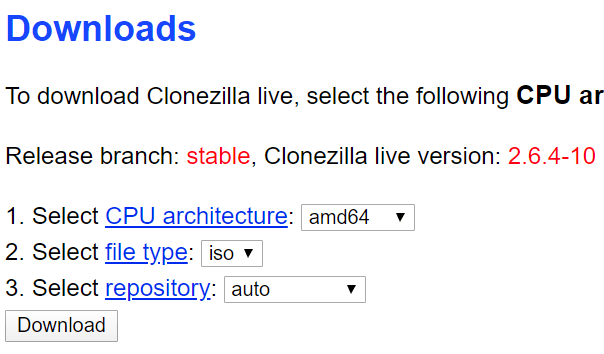
Download the iso file (279 MB). To download Clonezilla live, select the CPU architecture, file type, repository, and then click the download button.
-
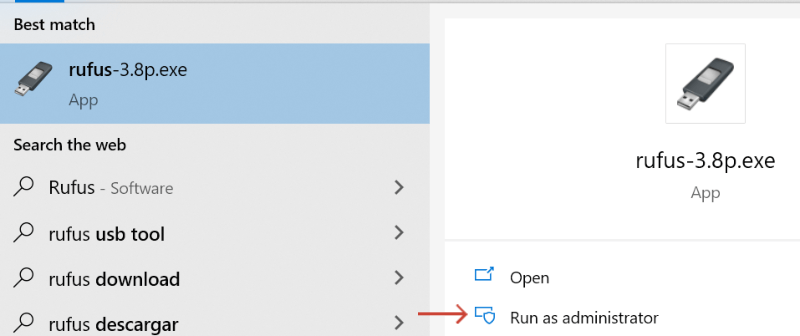
Download Rufus portable on your computer and run it as administrator.
-
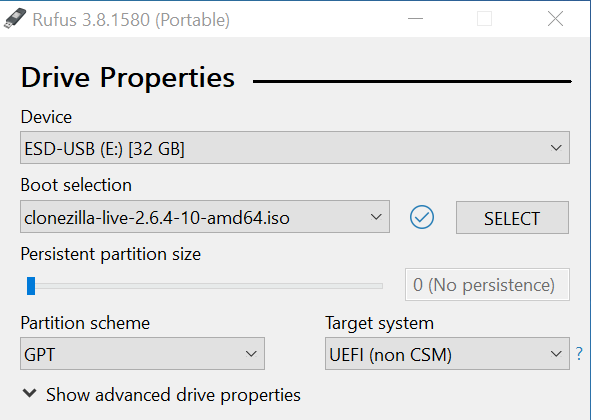
In the Drive Properties section, select the USB device you want to write the image to; choose the image you just downloaded in the previous step; select GPT as partition scheme and UEFI (non CSM) as target system; and leave the other options as they are set by default.
-
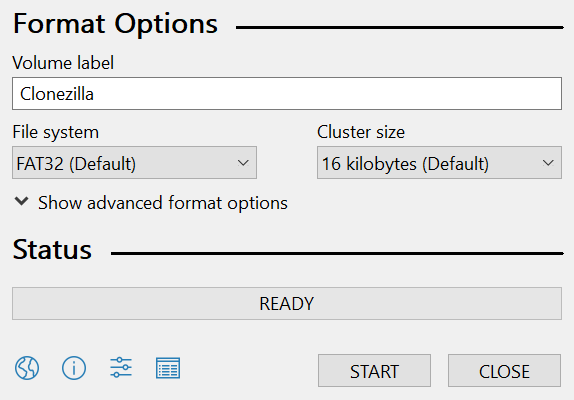
In the Format Options section, type a label in the Volume Label textbox and leave the other options as they are set by default.
-
Click on the START button; select the recommended mode to write the image; and then click on the OK button.

-
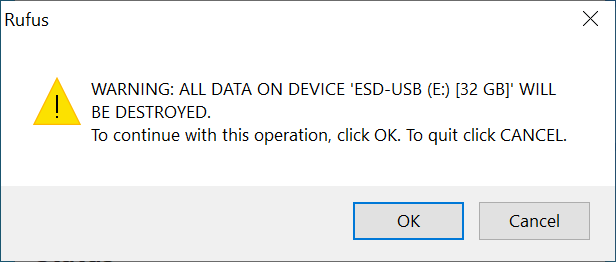
Lastly, Rufus warns you that all data will be destroyed. Click on the OK button and wait just a few minutes in order for your USB drive to be ready.
Using Clonezilla to clone your storage drive
I recorded a video of the steps to follow for cloning a local disk to another local disk on the CHUWI LapBook SE by using Clonezilla. Because it is just a demo, I stopped the process at the end of the video. Even so, I am going to explain every step in order for you to know how it is made.
- Boot up your computer from the Clonezilla Live USB drive. Please, read the previous section if you do not know how to create one. In the Boot Menu, select Clonezilla Live (default settings) and press Enter.
- On the Choose Language screen, choose the language you prefer.
- On the Keyboard Layout screen, you can keep or change the default keyboard layout.
- On the Start Clonezilla screen, you can start clonezilla or enter the command line prompt. Select start clonezilla and then select OK and press Enter (use the up/down arrow keys to move between the available options. To select OK/Cancel, use the Tab key).
- Select the device-device option.
- Select the Expert mode to choose your own options.
- Select the disk to local disk option to clone a local disk.
- Choose the local disk you want to clone. I selected the sda disk as source, that is, the first SSD in the system (the second would be sdb, the third sdc and so on), which is a 120 GB Western Digital.
- Select the target local disk, that is, the disk where you want to save all data. In this case, the disk name is mmcblk0, which is the eMMC internal storage this laptop has. If you have a HDD or another SDD, you will see hda or sdb here. Needless to say that if you want to clone a 120 GB disk, you will have to use another 120 GB disk as a target disk, unless you are sure that you can use one of smaller size.
- Leave the default advanced parameters (-g auto, -e1 auto, -e2, -j2, -r).
- I assume the file system does not need to be repaired (-sfsck).
- Select the -k1 parameter to create the partition table proportionally.
- Lastly, select -pa choose in order to be asked about the action to perform when everything is finished (reboot or shutdown). I suggest you shutdown your computer and then replace the cloned disk with the new one.
- I stopped the process by answering n to the question “Are you sure you want to continue?”.