How to create a Bootstrap subtheme in Drupal 7

In this article, I'm going to provide a quick look at how to install Bootstrap and how to create a Bootstrap subtheme in Drupal 7.
Installing Bootstrap
Installing the Bootstrap theme is a simple two-step process:
1. Download the latest version of Bootstrap from its project page at Drupal.org.
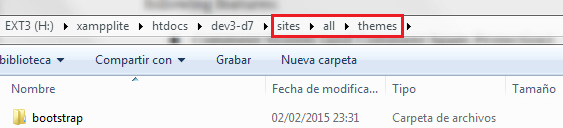
2. Decompress the zip or tar.gz file into sites - all - themes.
jQuery 1.9.0+ is required in order for Bootstrap plugins to work properly. The preferred method to accomplish this task is to install the jQuery Update module and select the appropriate version.
Bootstrap sub-theming
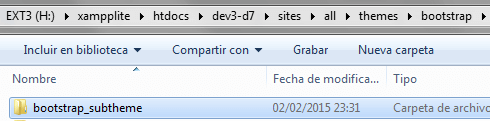
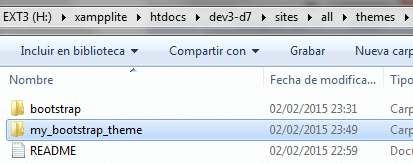
1. Copy the bootstrap_subtheme folder (which is located inside the bootstrap folder) into sites - all - themes and then rename it to my_bootstrap_theme.
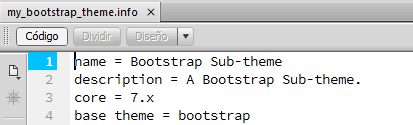
2. Rename the bootstrap_subtheme.info.starterkit file to match the folder name, that is, rename it to my_bootstrap_theme.info.
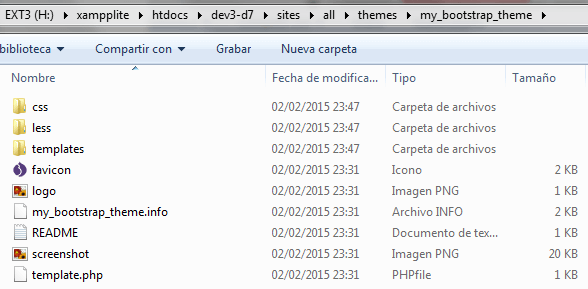
3. If you like, customize the name and description directives inside the my_bootstrap_theme.info file.
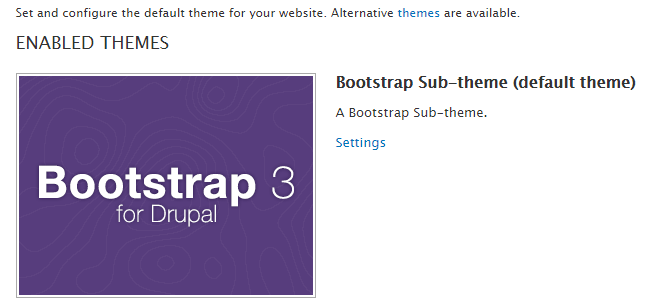
4. Go to admin / appearance and then enable and set your new Bootstrap Sub-theme as the default theme.
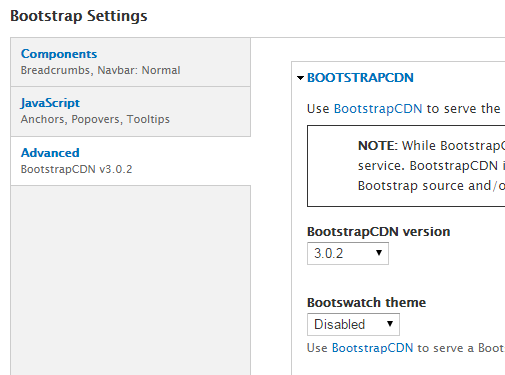
5. Go to admin / appearance / settings / my_bootstrap_theme and then select your favourite BootstrapCDN version from the drop-down menu in the BOOTSTRAPCDN section.
Done! This is all you have to do to start using Bootstrap in Drupal 7.