Bootstrap Theming - Responsive Slideshow in Drupal 7 with Flexslider (Part 1/3)

In this article, I’m going to show you how to creatively display images by using a slideshow in Drupal 7.
The goal
As stated in previous articles of this series, one of your clients is a chef who has asked you for a new design of his web site so that it is suitable for all types of devices.
During the meeting you have scheduled to discuss the new design, he tells you one of the goals the new design should achieve is that images are able to make a strong impression on the visitors, so that just thinking about his recipes makes their mouth water.
In terms of web developing, how could you achieve this goal? Well, it occurs to me that:
- You must hire a professional photographer, because you want images to be as good as possible.
- A slideshow that takes up the whole width of the browser window would be a creative way of displaying some of the recipes (e.g., the best ones) on the front page.
- You must use some of the new features of CSS3, since they will make images look even better.
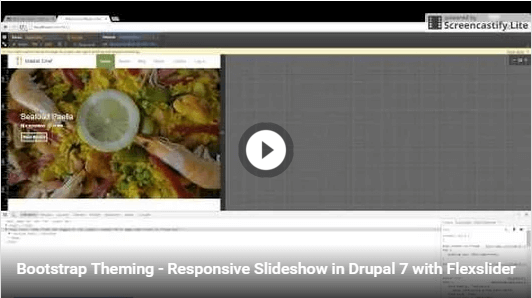
Watch now the end result
Please, click the image below to open a modal window with a video showing the end result of this article.
Getting started
Because of the fact that content is the king, let’s get started by creating a new content type for the recipes.
1. Go to admin / structure / types and then click on the Add content type link.
2. Fill out the HTML form like this:
- Name: Recipe
- Description: Use this content type for adding a new recipe to the site.
- Submission form settings
- Title field label: Title
- Preview before submitting: Required
- Explanation or submission guidelines: Leave it blank
- Publishing options
- Default options: Check Published and Create a new revision. Uncheck Promoted to front page.
- In Display settings and Comment settings, leave the options by default.
- Menu settings
- Available menus: Uncheck Main Menu.
- Default parent item: <Main Menu>
and then click the Save and add fields button.
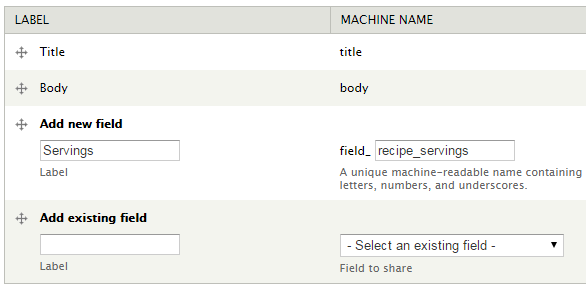
3. Add a new field to the content type Recipe for storing the number of servings:
- Label: Servings
- Machine Name: field_recipe_servings
- Field Type: Integer
- Widget: Text field
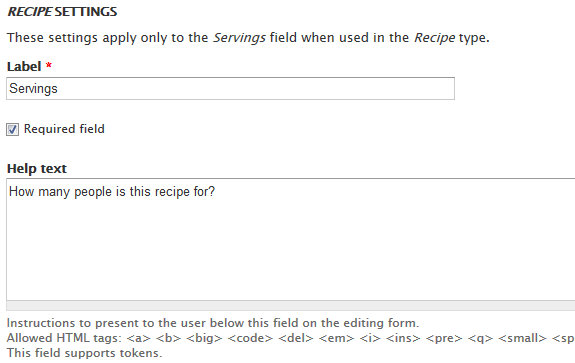
After creating the Servings field, Drupal will show you a new HTML form in order for you to enter its settings. Fill it out like this:
- RECIPE SETTINGS
- Label: Servings
- Check the required field checkbox
- Help text: How many people is this recipe for?
- Minimum: 1
- Maximum: Leave it blank
- Prefix: Leave it blank
- Suffix: Leave it blank
- Default value: 1
- SERVINGS FIELD SETTINGS
- Number of values: 1
and then click the Save settings button.
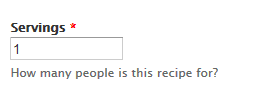
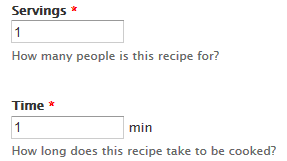
Now, if you go to node / add / recipe, you will see a new field to enter the number of servings:
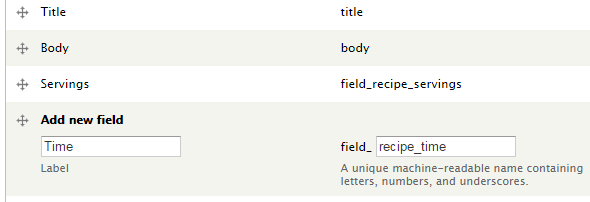
4. Add a new field to the content type Recipe for storing how long the recipe takes to be cooked:
- Label: Time
- Machine Name: field_recipe_time
- Field Type: Integer
- Widget: Text field
After creating the Time field, Drupal will show you a new HTML form in order for you to enter its settings (it is the same HTML form as you have filled out for the Servings field). Fill it out like this:
- RECIPE SETTINGS
- Label: Time
- Check the Required field checkbox
- Help text: How long does this recipe take to be cooked?
- Minimum: 1
- Maximum: Leave it blank
- Prefix: Leave it blank
- Suffix: min
- Default value: 1
- TIME FIELD SETTINGS
- Number of values: 1
and then click the Save settings button.
As for the Servings field, if you go to node / add / recipe, you will see a new field to enter how long the recipe takes to be cooked.
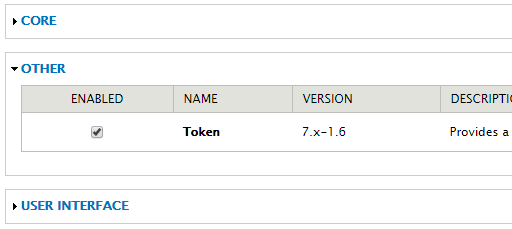
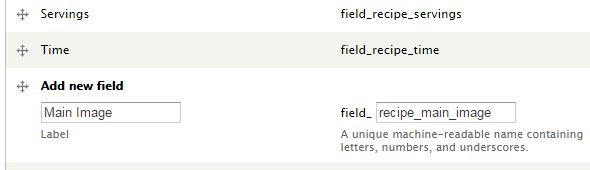
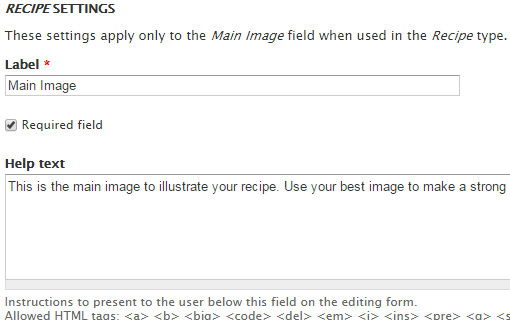
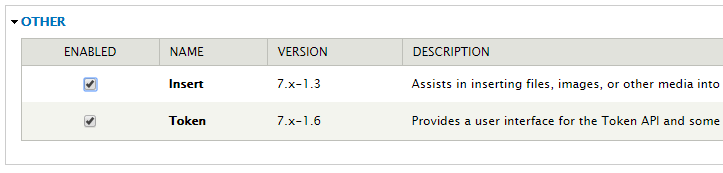
5. Install and enable the Token module. Then add a new field for storing the main image of each recipe. This is the field that will provide the images to be used by the slideshow.
- Label: Main Image
- Machine Name: field_recipe_main_image
- Field Type: Image
- Widget: Image
After creating the Main Image field, Drupal will show you a new HTML form in order for you to enter its settings. Fill it out like this:
- RECIPE SETTINGS
- Label: Main Image
- Check the Required field checkbox
- Help text: This is the main image to illustrate your recipe. Use your best image to make a strong impression on the visitors to the page.
- Default image: Leave it blank
- Allowed file extensions: png, jpg, jpeg
- File directory: images/recipe/[current-date:custom:Y-m-d]
- Maximum image resolution: 1024x768
- Minimum image resolution: 800x600
- Maximum upload size: "100KB"
- Check the Enable Alt field checkbox
- Uncheck the Enable Title field checkbox
- Preview image style: Large(480x480)
- MAIN IMAGE FIELD SETTINGS
- Number of values: 1
- Upload destination: Public files
- Default image: Leave it blank
and then click the Save settings button.
[current-date:custom:Y-m-d] is a token that saves the image in a folder with the name of the current date (e.g., 2015-11-25) when saving the node.
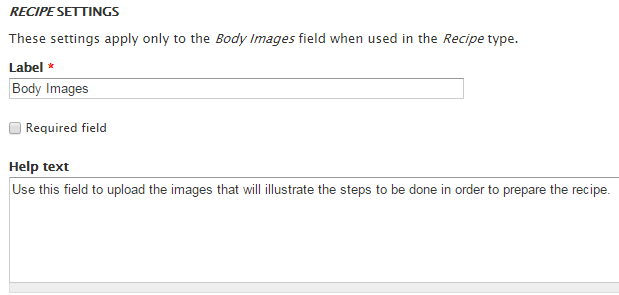
6. Install and enable the Insert module. Then add a new field for storing the images that will illustrate the steps to be done in order to prepare the recipe.
- Label: Body Images
- Machine Name: field_recipe_body_images
- Field Type: Image
- Widget: Image

- RECIPE SETTINGS
- Label: Body Images
- Do not check the Required field checkbox
- Help text: Use this field to upload the images that will illustrate the steps to be done in order to prepare the recipe.
- Default image: Leave it blank
- Allowed file extensions: png, jpg, jpeg
- File directory: images/recipe/[current-date:custom:Y-m-d]
- Maximum image resolution: 640x480
- Minimum image resolution: Leave it blank
- Maximum upload size: "50KB"
- Check the Enable Alt field checkbox
- Uncheck the Enable Title field checkbox
- Preview image style: Medium(220x220)
- INSERT
- Check Enable Insert button checkbox
- Do not check the Use absolute paths checkbox
- Enabled insert styles Automatic
- Default insert style: Automatic
- Additional CSS classes: recipe-body-image
- Maximum image insert width: 640
- BODY IMAGES FIELD SETTINGS
- Number of values: Unlimited
- Upload destination: Public files
- Default image: Leave it blank
and then click the Save settings button.
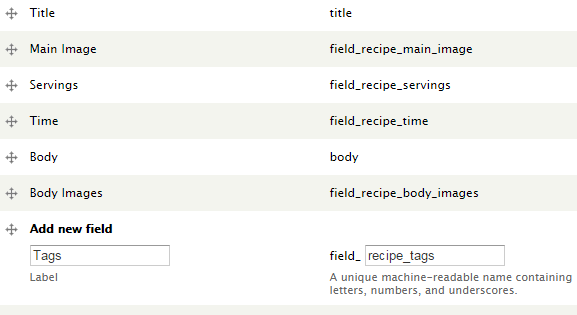
7. Go back to admin / structure / types / manage / recipe / fields and then reorder the fields like this: Title, Main Image, Servings, Time, Body, and Body Images. Then click the Save button.
8. Go to admin / structure / taxonomy and then click the Add Vocabulary link to create a new vocabulary:
- Name: Recipe
- Description: Terms for categorizing the recipes
9. Go to admin / structure / taxonomy / recipe / add and then add the following terms to the Recipe vocabulary: Breakfast, Dessert, Dinner, Egg, Lunch, Omelette, Pastry, Rice, and Snack.

10. Add a new field to the content type Recipe for storing the term references to be used for categorizing the recipes.
- Label: Tags
- Machine Name: field_recipe_tags
- Field Type: Term reference
- Widget: Autocomplete term widget (tagging)
After creating the Tags field, Drupal will show you a new HTML form in order for you to enter its settings. Fill it out like this:
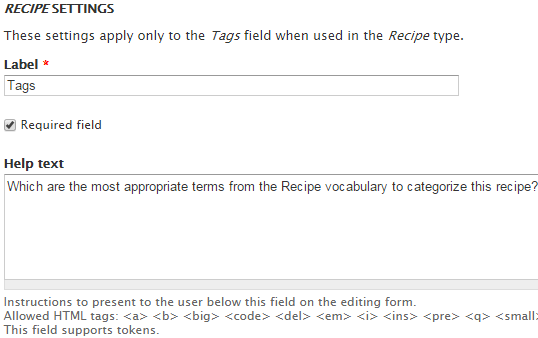
- RECIPE SETTINGS
- Label: Tags
- Check the Required field checkbox
- Help text: Which are the most appropriate terms from the Recipe vocabulary to categorize this recipe?
- DEFAULT VALUE
- Tags: Leave it blank
- TAGS FIELD SETTINGS
- Number of values: Unlimited
- Vocabulary: Recipe
and then click the Save settings button.
11. Create a new user for your client to be able to manage his recipes. To do so, go to admin / people and then click the Add user link. Enter a username, e-mail address and password, and then click the Create new account button.
12. Go to admin / permissions / roles, create a new role named author, and then add the user you have just created to it.
It is recommended to order your roles from least permissive (anonymous user) to most permissive (administrator), like this: anonymous user (locked), authenticated user (locked), author, and administrator.
13. Go to admin / people / permissions and check the following checkboxes for the author role:
- Block
- None
- Comment
- View comments
- Post comments
- Skip comment approval
- Edit own comments
- Contextual links
- None
- Dashboard
- None
- Filter
- Use the Filtered HTML text format
- Use the Full HTML text format
- Image
- None
- Menu
- None
- Node
- View published content
- View own unpublished content
- View content revisions
- Revert content revisions
- Recipe: Create new content
- Recipe: Edit own content
- Recipe: Edit any content
- Overlay
- None
- Path
- Create and edit URL aliases
- Search
- Use search
- Shortcut
- None
- System
- None
- Taxonomy
- None
- Toolbar
- None
- User
- None
14. Finally, create some dummy content to be used by the slider. I'm going to create several spanish recipes and use flickr.com in order to illustrate them. These are the authors of the images I have chosen. Thank you guys!
Churros (Churros are typical spanish pastries)
by M. Martin Vicente
License: CC Attribution 2.0 Generic
No changes were made
"Tortilla de Patatas" or Spanish Potato Omelette
by Alyssa Sison
License: CC Attribution-NonCommercial 2.0 Generic
No changes were made
"Paella de Marisco" or Seafood Paella
by Carla Bbneko Herrera
License: CC Attribution-NonCommercial 2.0 Generic
No changes were made